Gnome Instructions for AnyConnect Persistent Client
Getting Started using GUI
The following is presented using gnome. Your experience will vary based on your linux installation.
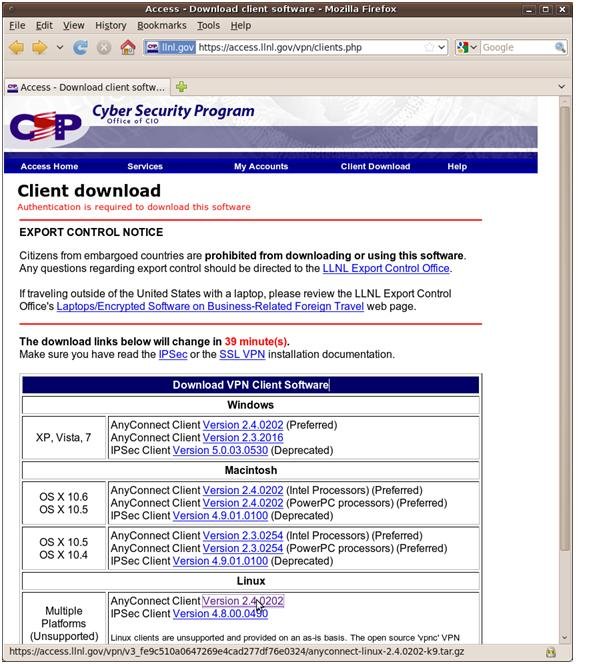
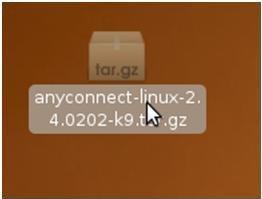
Double Click on the compressed tar file:
Extract the files to your file system:
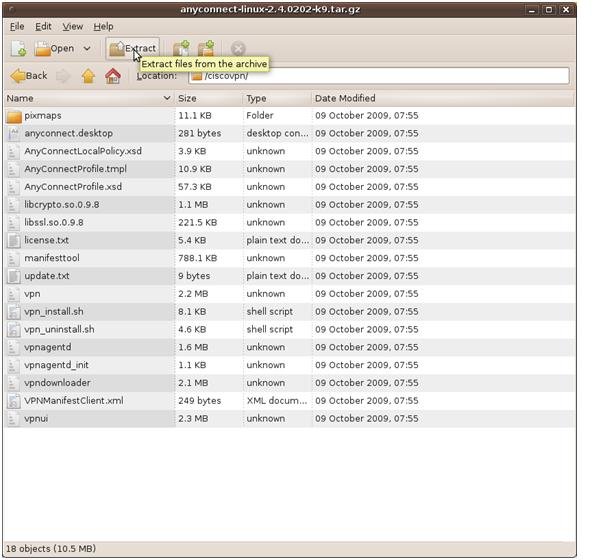
Select a location to extract the tar file:

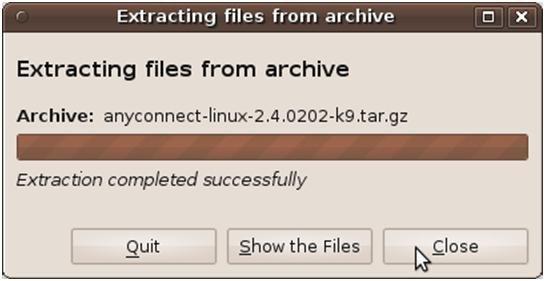
You should get a gui indicating the extraction is complete.
Open a command prompt and install:
[shell prompt] cd ciscovpn/
[shell prompt] sudo ./vpn_install.sh
Installing Cisco AnyConnect VPN Client...
Client Software License Agreement of Cisco Systems
NOTE: We are not displaying the License Agreement.
Starting the VPN agent...
Done!
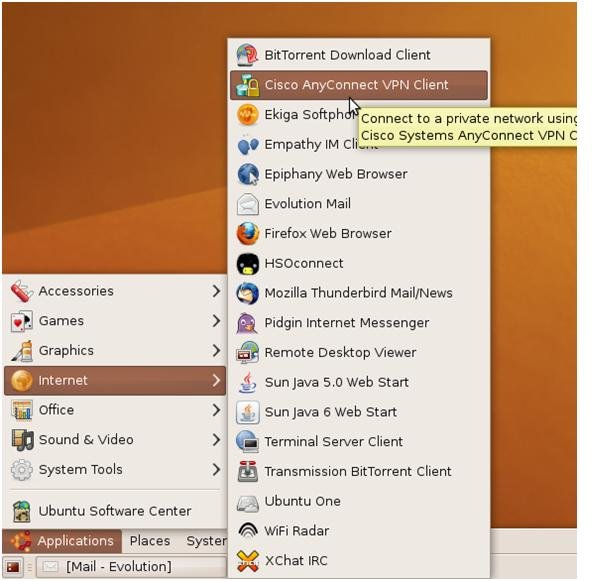
Launch the anyconnect client: Applications/Internet/Cisco AnyConnect VPN Client
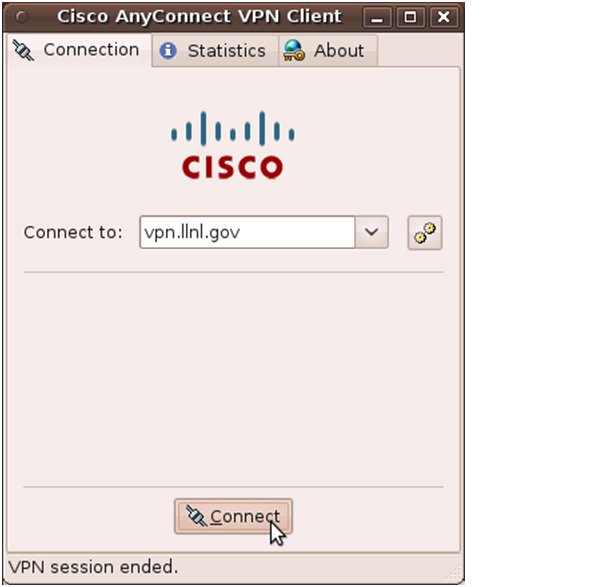
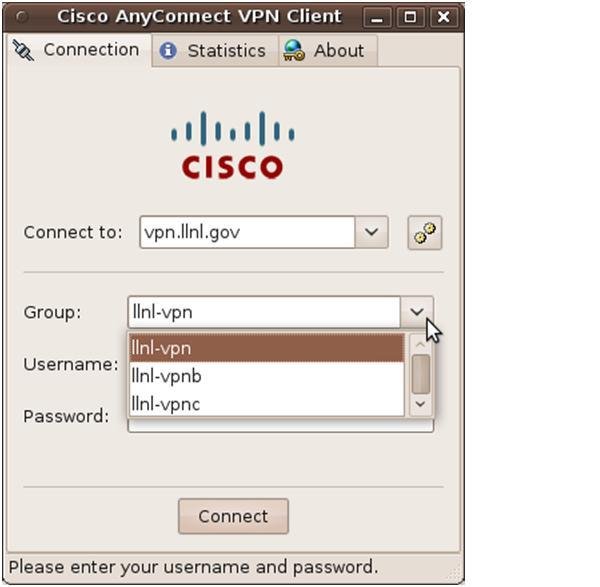
You should get a blank GUI. Type in vpn.llnl.gov in the "Connect to:" field and
select "Connect." The pull down "Group" field should fill it self in with the various
LLNL groups. Select the group that your are assigned.

Add your Username, Pin + token code or reusable password:
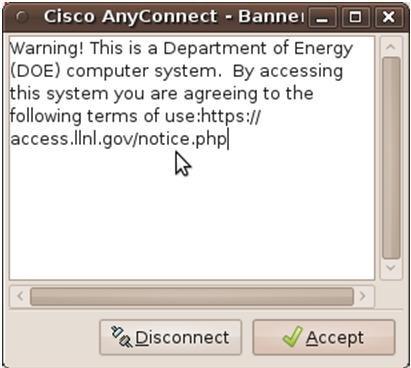
You should see the DOE Warning Banner and select "Accept"
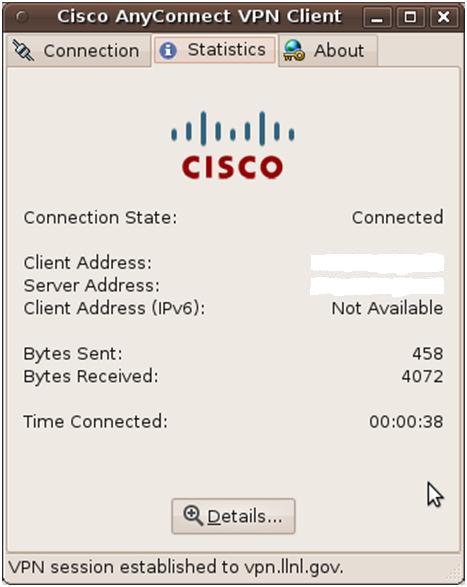
A connection should be made at which time the client minimizes down into the system tray. To bring the AnyConnect Client Panel to the foreground, select the Cisco AnyConnect icon.

You should see this panel:
To disconnect, select the Connection tab and select "Disconnect":
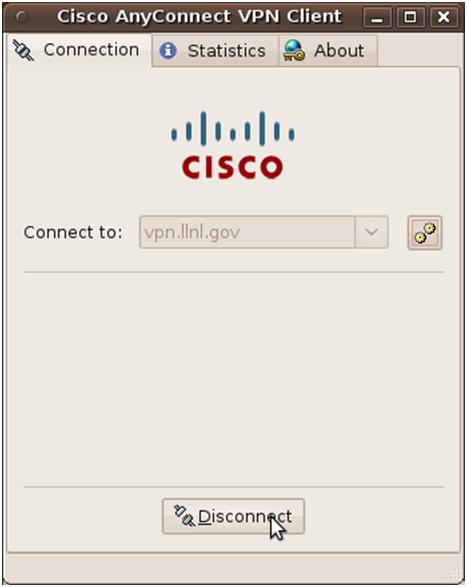
Your VPN session is now ended.