macOS Installation Instructions
Antivirus required to connect. Please click here for details.
SUPPORT NOTES
- AnyConnect is not being used for mainstream LLNL VPN connections. Please use the GlobalProtect instructions below.
Cisco AnyConnect
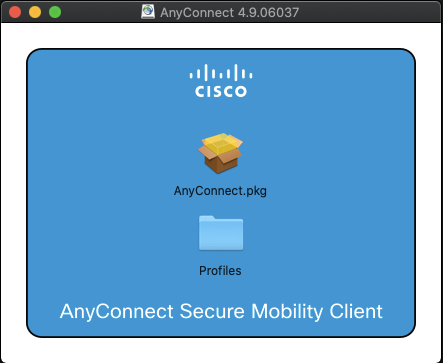
- You need to install this client as Administrator. Navigate to the folder where you saved the file and
run as Administrator.
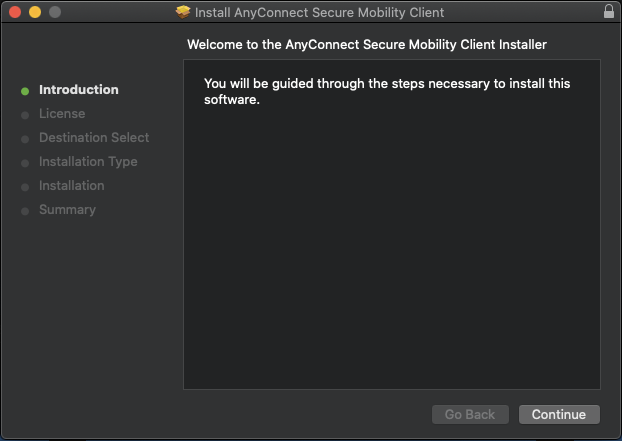
- A window appears displaying the Introduction, click Continue.
- The Software License Agreement window opens, click "Continue".
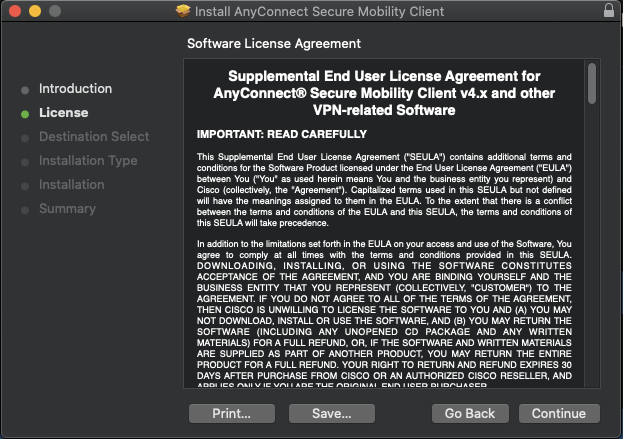
- Then an agreement text opens, click "Agree".

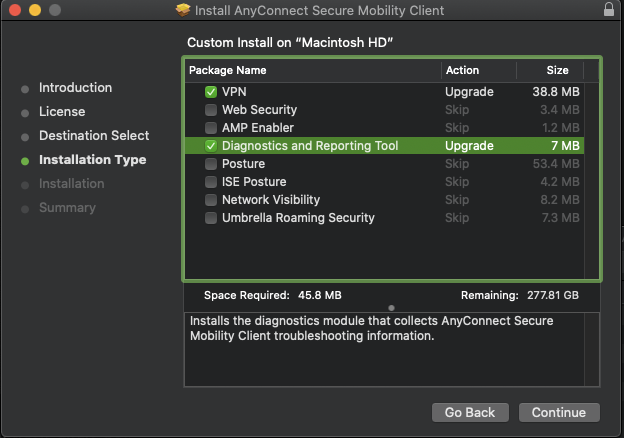
- The only package required is "VPN". The "Diagnostics And Reporting Tool" is optional, but will help
support should you require assistance. You may deselect all other options.
- Click Continue on the Custom Install on "Macintosh HD" screen after you have selected the packages you
wish to install.
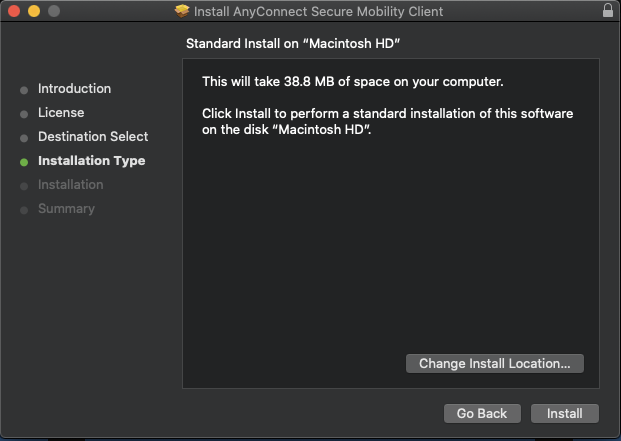
- You may select a different destination to save the client software prior to installation. Clicking
Install will install the applications selected.
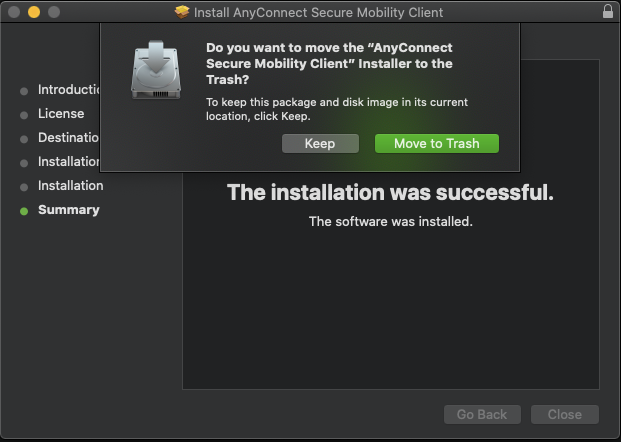
- When installation is complete you will see this screen. Click "Close" to exit installation process.

- The installer gives you the option to move to trash or keep, choose whichever you like.
- To open the Cisco AnyConnect Client, click Hard Drive, Applications, Cisco, Cisco AnyConnect Secure
Mobility Client.
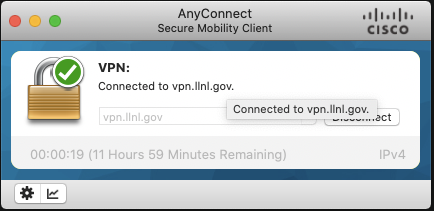
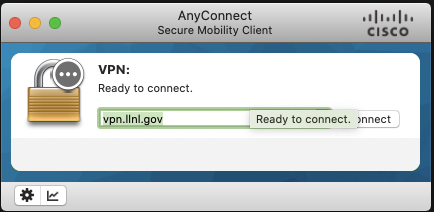
Once you have successfully launched the Cisco AnyConnect Secure Mobility Client, you will receive this window. Type vpn.llnl.gov into the "Connect to:" window and click "Connect".
- Select the appropriate group and enter your OUN and OTP (PIN + Token Code) and click "Connect".
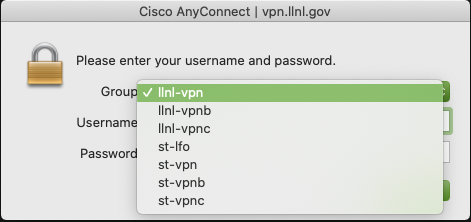
- Enter your OUN and OTP (PIN + Token Code) and click "OK".

- The DOE Warning Banner displays, click "Accept" to proceed.
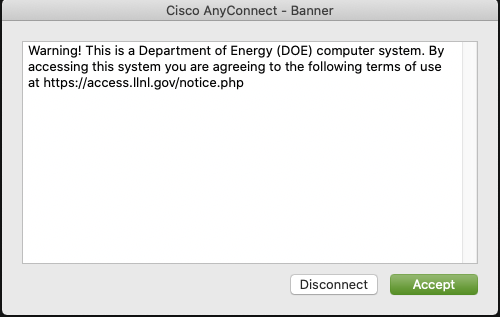
- Once you have successfully launched the Cisco AnyConnect Secure Mobility Client, you will receive this
window. Click Accept to proceed. Now you are ready to use the browser to
access LLNL.